
Help Center Getting Started with TrackStage
Getting Started
Get yourself up and running with your new TrackStage account. Once you've signed up, the Getting Started window walks you through connecting TrackSync — this article covers creating the account and introduces that window. Each of its steps has its own article.
Step One : Set up Your TrackStage Account
- Go to https://www.trackstage.io/?next=signup.
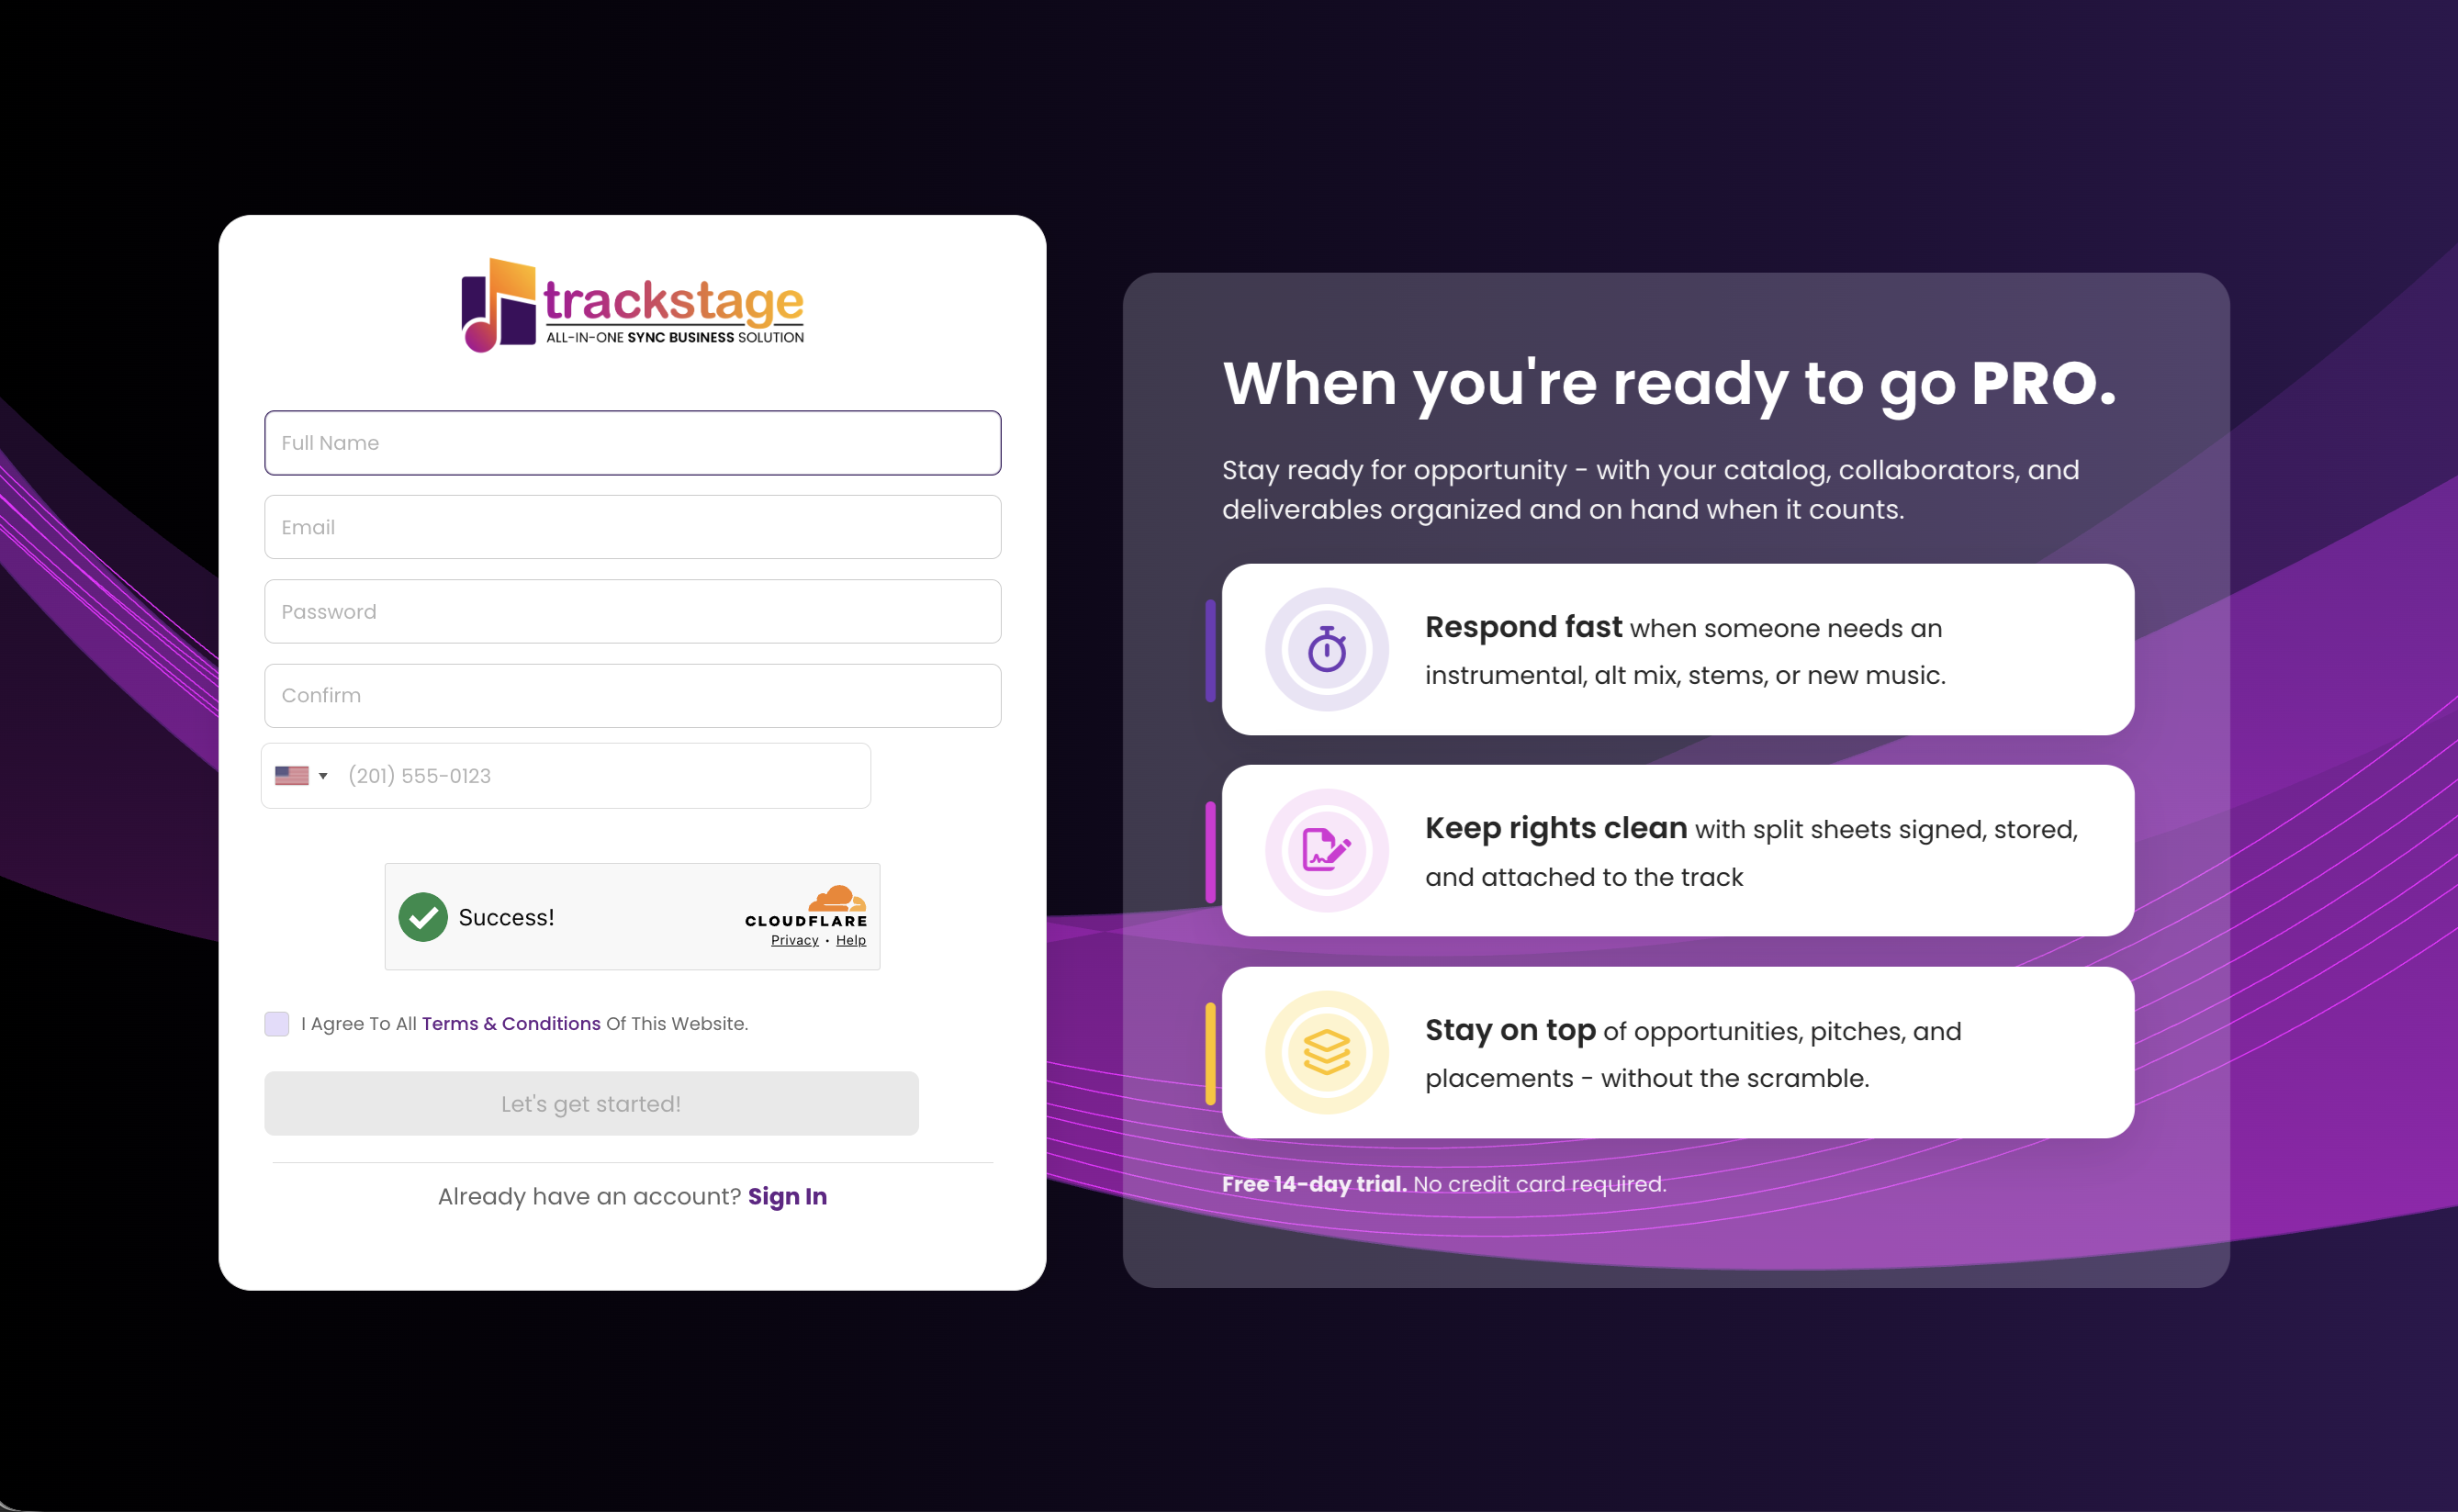
- Create your TrackStage Account
Enter your name, email address, and password. This will be your User Name, but you will be able to set up an alternate Artist or Band name for use within TrackStage. Then tell us you've read the Terms and Conditions and that you're not a robot. - Click Let's Get Started
An email will be sent to you to confirm your account. If you don't see it in your inbox, be sure to check your spam filter.
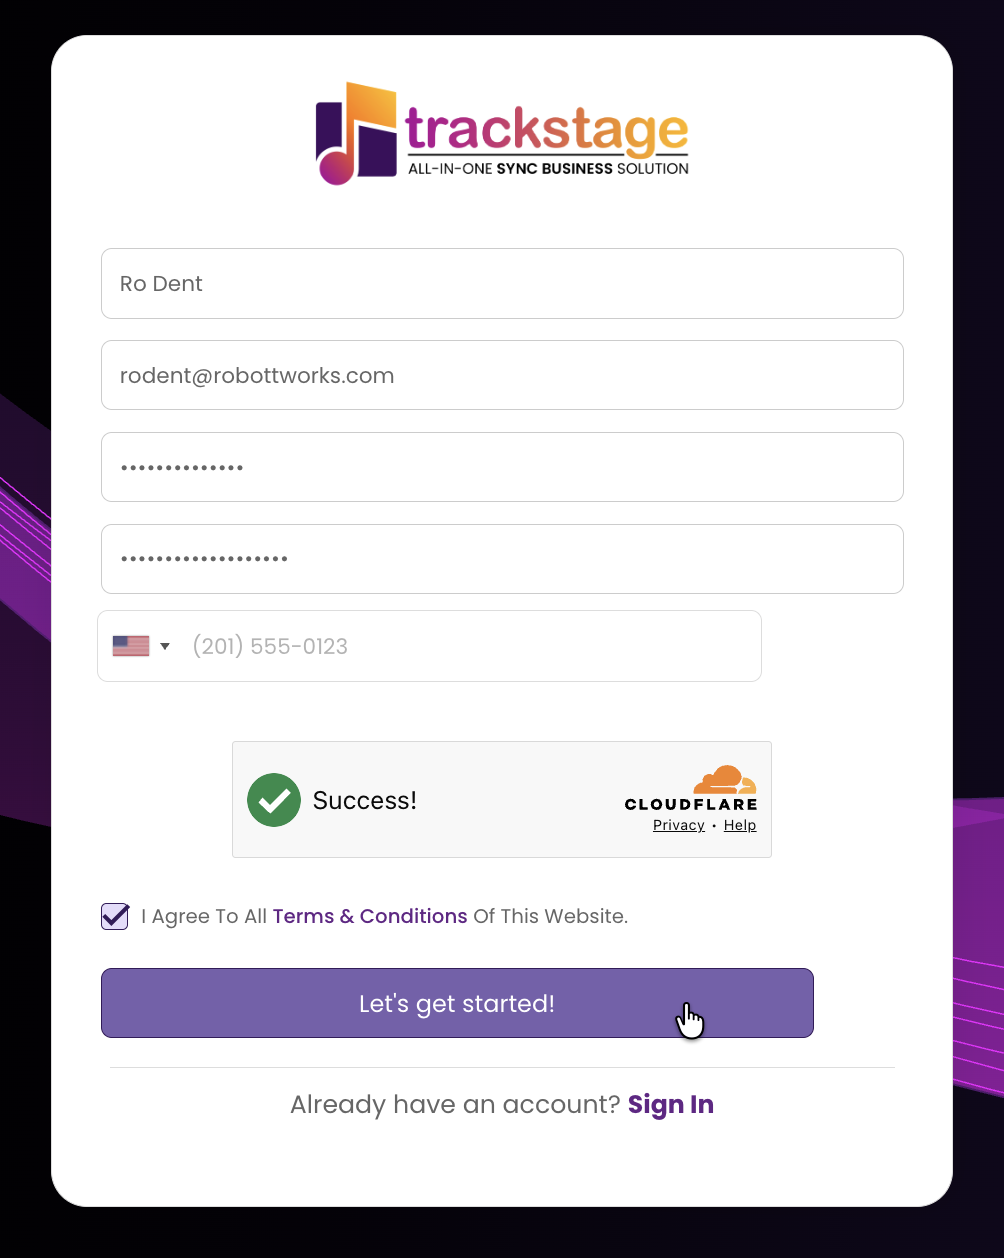
- Click "Confirm Me!" in the email to confirm your account.
If the button doesn't work, copy the link underneath it into a new browser window and press enter.
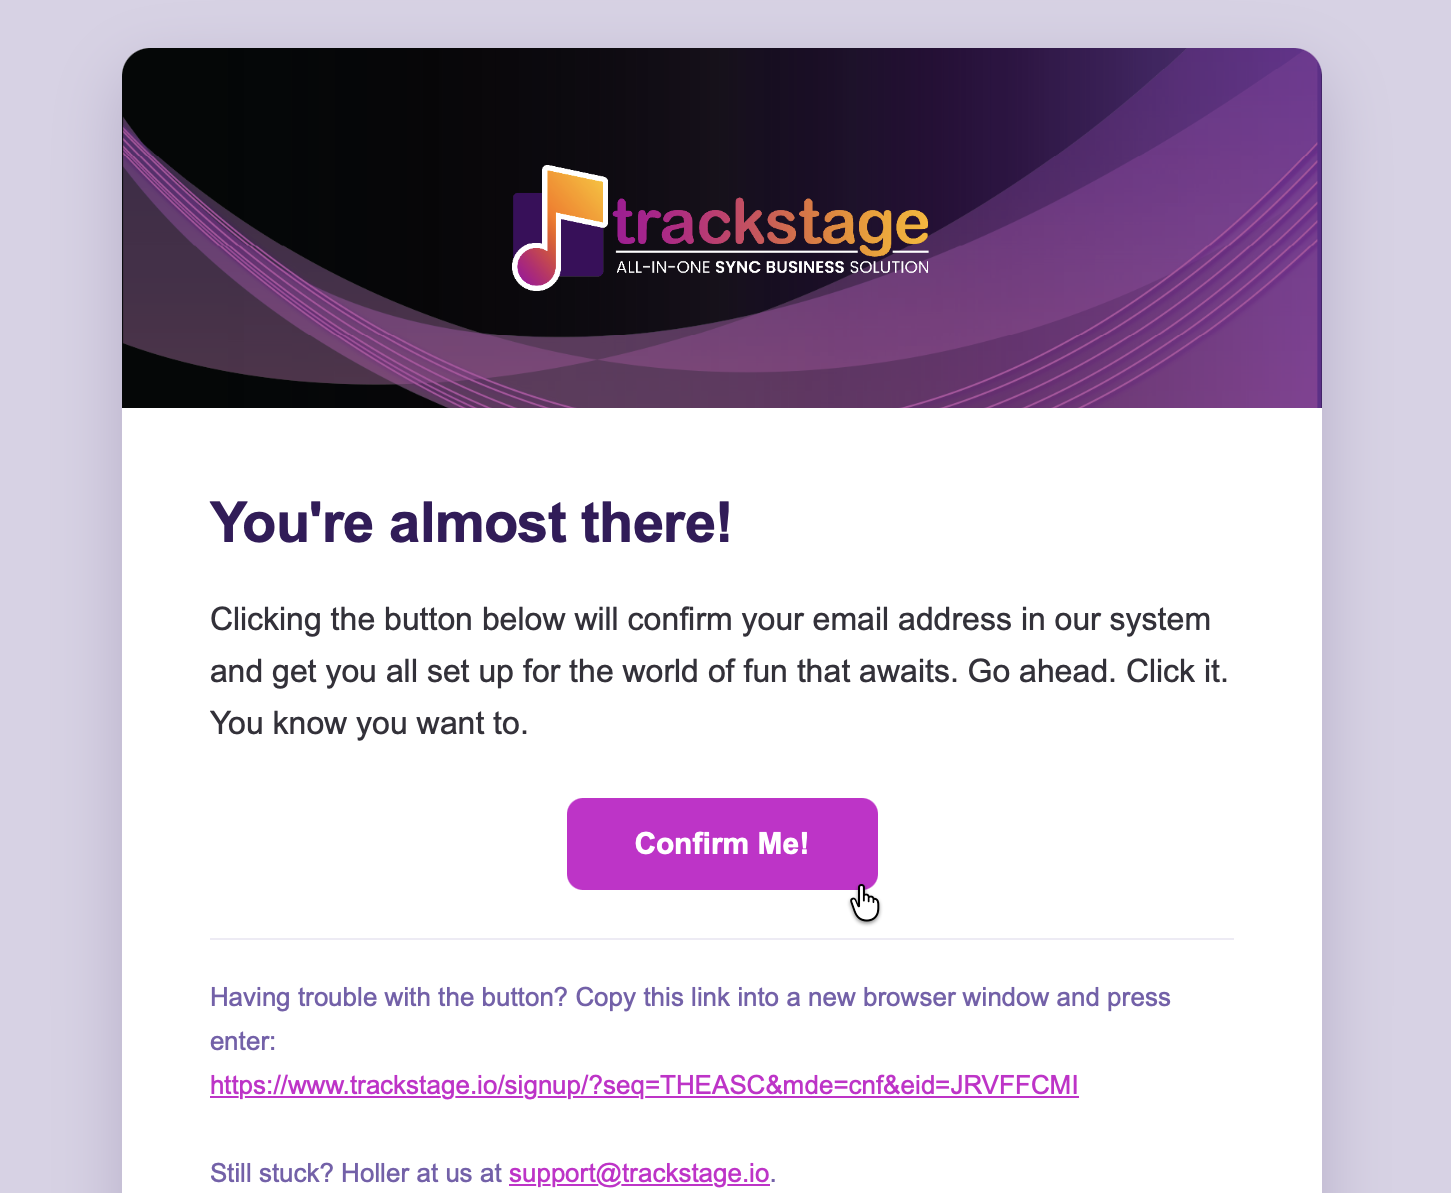
- Click the "Log Me In, Baby!" button in the welcome email.
NOTE: If you get a blank browser page or a message that another instance of TrackStage is running, close the tab and open the tab that you used to create your account. It will have updated to show the login screen and you'll be good to go. - Use your email and password to login to TrackStage.
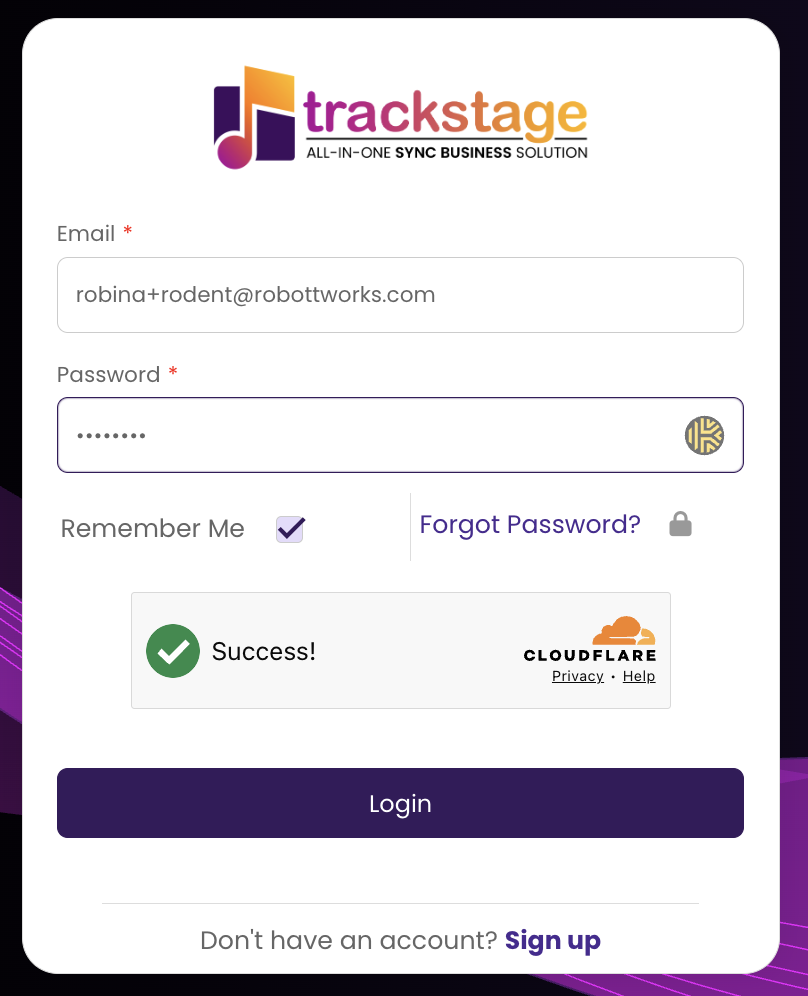
Step Two : Meet the Getting Started Window
The first time you log in, the Getting Started window opens over your DASHBOARD. It walks you through connecting TrackSync — the helper app that links the audio files on your computer to your online Catalog.
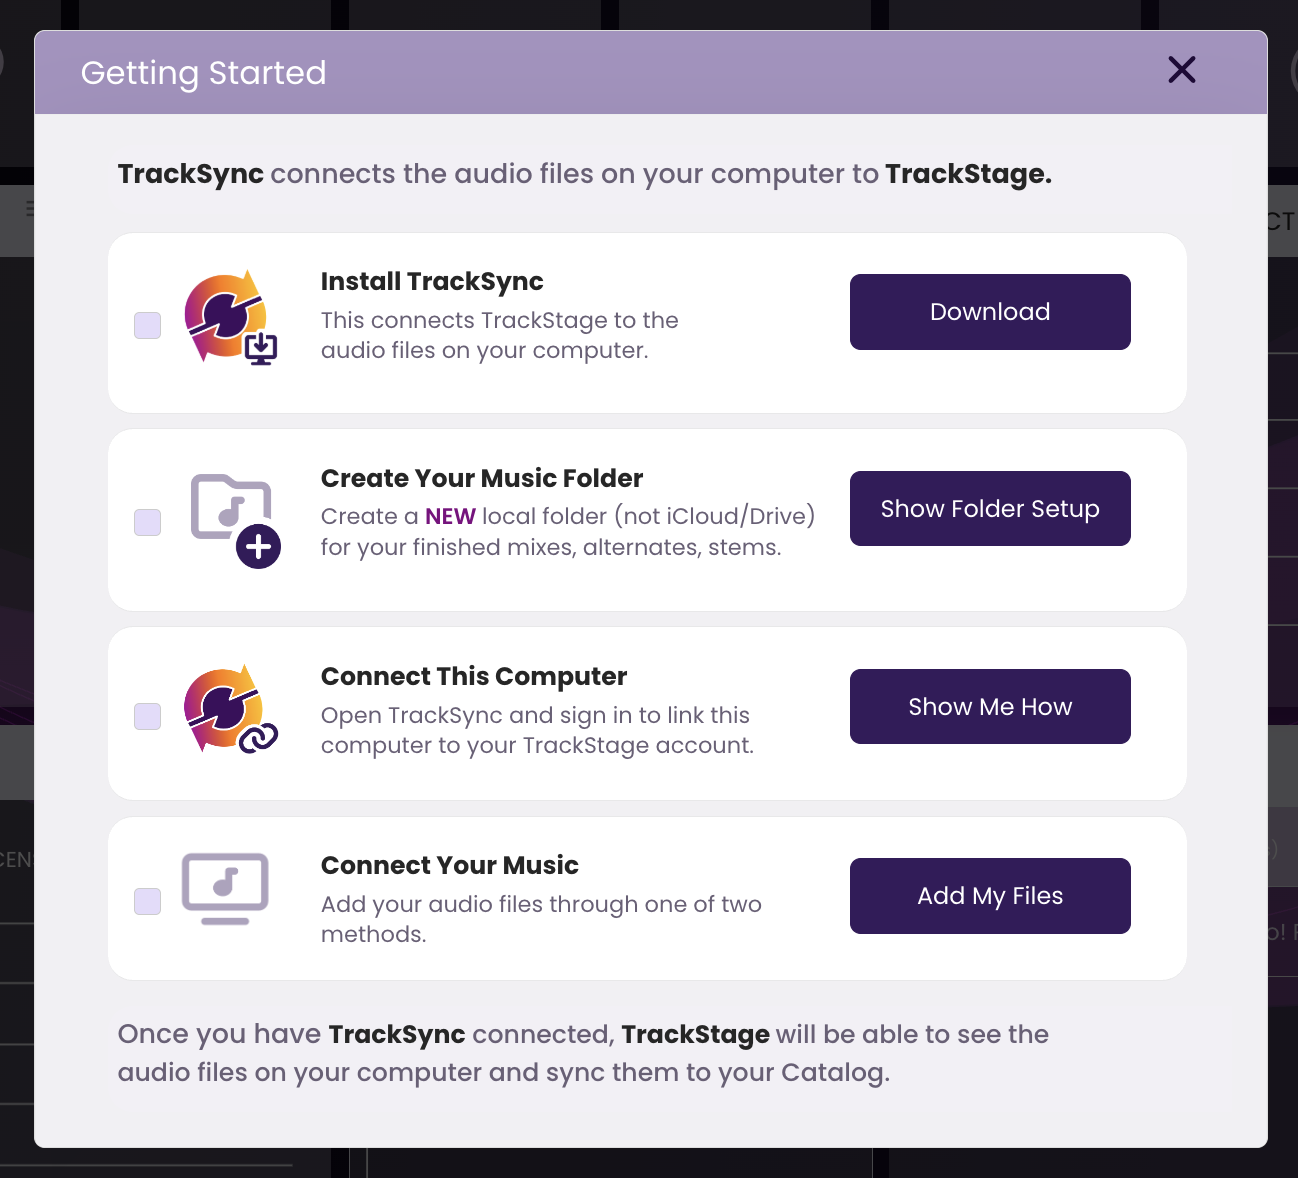
Each step has its own button. Work down the list in order — each step ticks itself off as you go, and its button changes to tell you where you are. Mac shows four steps; Windows shows five.
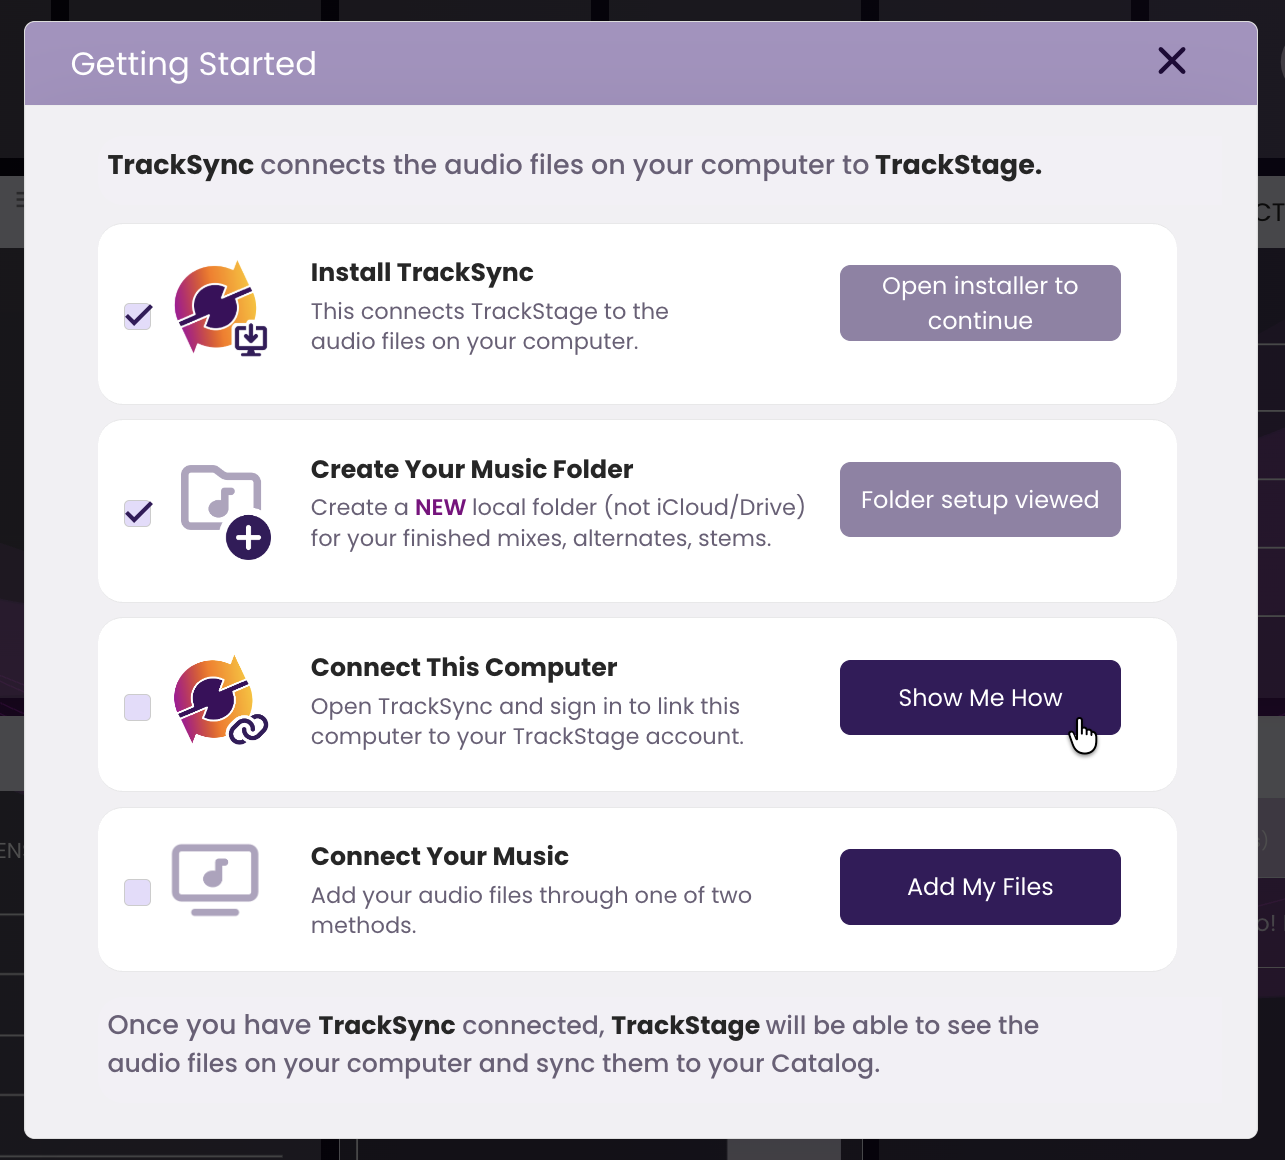
You don't have to finish in one sitting. If you close the window before every step is done, it opens again the next time you log in.
Step Three : Work Through the Steps
Each step has its own button in the window, and its own article here with the detail. Mac users see four steps; Windows users see five, because Windows also needs TrackCache.
- Install TrackSync.
Click Download, then open the installer. See Installing TrackSync. - Install TrackCache. (Windows only)
Windows also needs TrackCache — it handles syncing in the background. Click Download and run it the same way. Mac users won't see this step. See Installing TrackSync. - Create Your Music Folder.
A NEW, empty folder for TrackSync to connect to — not an existing folder of tracks. See Setting up your TrackStage Folder. - Connect This Computer.
Open TrackSync, sign in, and point it at the folder you just made. See Connecting TrackSync to TrackStage. - Connect Your Music.
Bring your tracks in with TrackStage GO or Bulk Import. See Bringing in Your Music.
You don't have to finish in one sitting. If you close the window before every step is done, it opens again the next time you log in.
Step Four : Set up Your User Profile
To get the most out of TrackStage, with its time-saving autofill features, set up your Artist Information in the User Profile. See Setting up your User Profile.