
Help Center Getting Started with TrackStage
Installing TrackSync
TrackSync is the helper application that connects the audio files in your TrackStage folder on your computer to your online Catalog. Installing it is the first step in the Getting Started window, which opens the first time you log in.
Mac and Windows differ in one way: Windows also needs TrackCache, which handles syncing in the background. Mac doesn't use it.
Mac
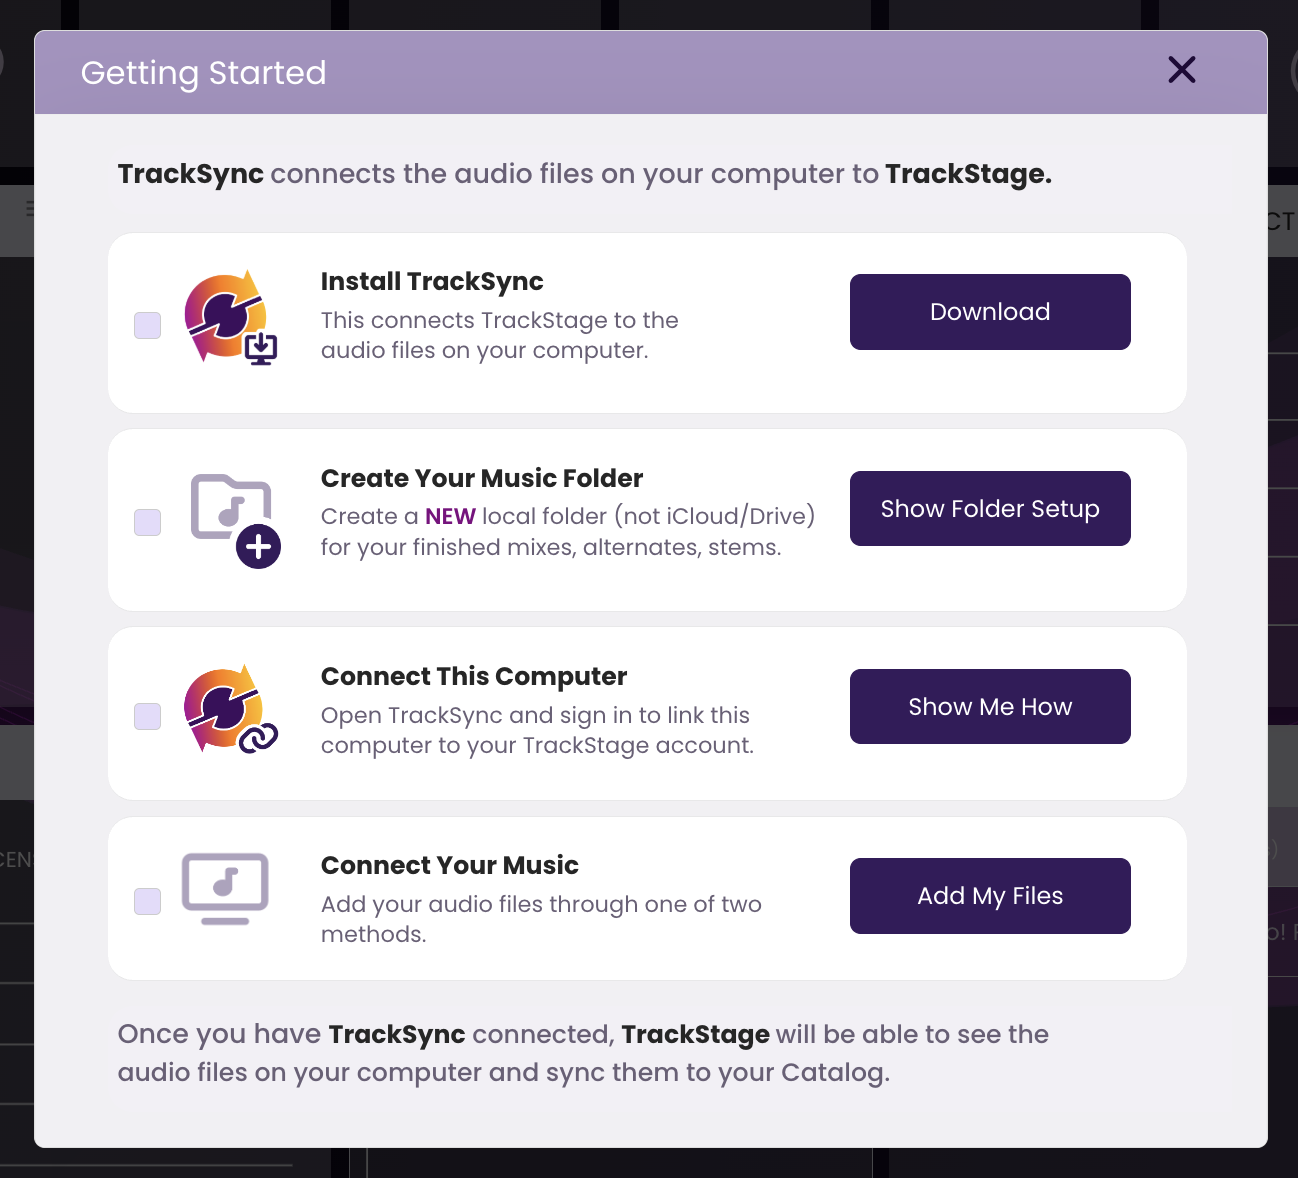
- Click Download on "Install TrackSync".
The button changes to Downloading while the installer comes down, then to Open installer to continue. - Open tracksync_installer.pkg from your Downloads folder.
- Follow the onscreen instructions.
Stick with the default location so TrackSync installs on your computer's hard drive.
Windows
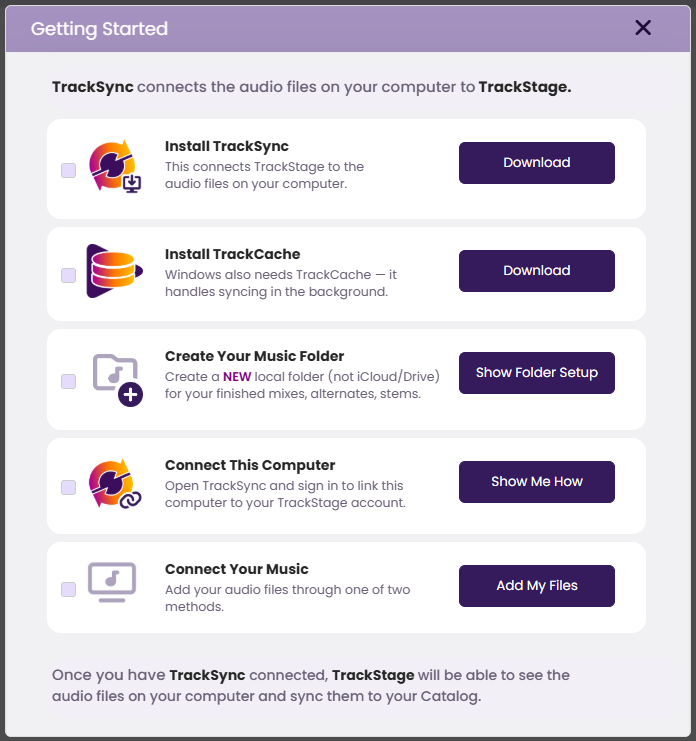
- Click Download on "Install TrackSync".
- Click Download on "Install TrackCache".
Windows needs both. - Open tracksync_installer.exe from your Downloads folder and follow the instructions.
If Windows shows a SmartScreen warning, click More info, then Run anyway. - Do the same with the TrackCache installer.
There's no need to open TrackCache afterwards — it starts on its own whenever TrackSync runs.
Next: Connect TrackSync
With it installed, sign TrackSync in and point it at your folder — see Connecting TrackSync to TrackStage. For the whole setup sequence, see Getting Started.